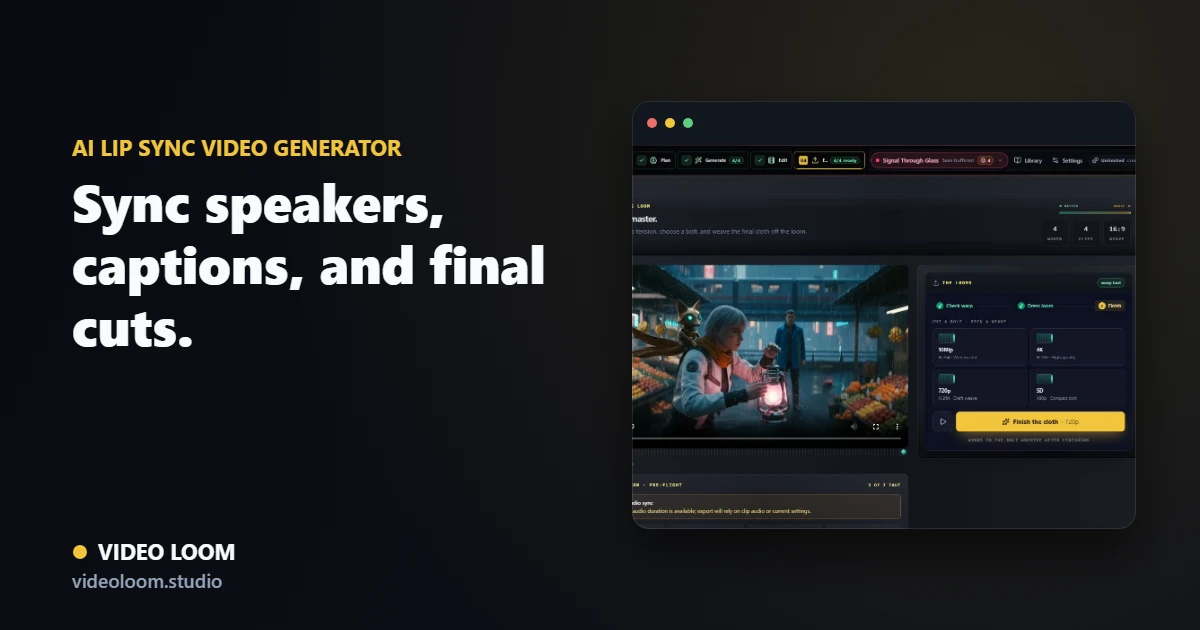
A talking-photo clip works best when the image, voice, mouth sync, captions, and export format stay in the same production plan. Here is how to turn a portrait or character image into a lip-synced video without losing the review context.
By Video Loom ·
1. Start with a clear talking image
Choose a front-facing photo, generated character image, presenter frame, or product spokesperson image that can carry speech clearly. Crop for the channel before generation so the face, captions, and final frame all have room.
Use a portrait or character image with a readable mouth and face.
Choose 16:9, 1:1, or 9:16 framing before generating.
Attach style notes and usage context to the scene.
2. Add the voice, script, and speaker context
Drive the talking photo from uploaded audio, recorded dialogue, or a typed script. Keep speaker notes, pronunciation cues, and caption text beside the image so the lip-sync pass can be reviewed against the intended line.
Upload audio or write the line before the lip-sync pass.
Track speaker identity, tone, and caption cues.
Keep the source image and voice source attached to the same scene.
3. Review lip sync before export
Check mouth movement, timing, face stability, caption placement, and audio quality before adding the clip to a finished cut. The fastest talking-photo workflow still needs review before it becomes a product, explainer, social, or music-video asset.
Compare generated takes against the original line.
Fix caption timing and framing before publishing.
Export the talking-photo clip or place it into a larger timeline.
Try the workflow
Plan your next AI video in Video Loom.
Turn the guide into a project with scene planning, provider routing, continuity, review, and export in one workspace.