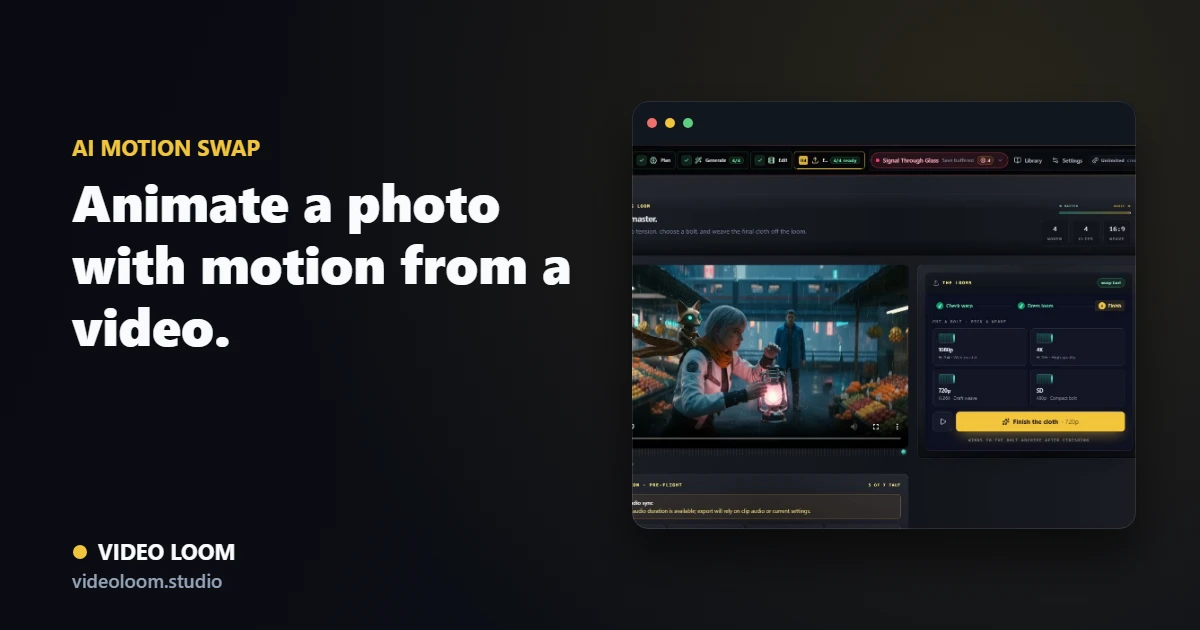
1. Pick the photo and the driver clip
Choose the still image you want to animate and the video whose motion should drive it — a performance take, reference clip, or previous generated shot.
- Choose a character portrait, product shot, or presenter photo.
- Select a driver clip with the motion you want to transfer.
- Keep both attached to the scene for review.
2. Review the face-map before generating
Check the face-map preview for a repairable, context-aware warning before committing to the full generation, so a bad mapping gets caught early.
- Review the face-map warning if one appears.
- Adjust the source photo or driver clip if needed.
- Retry the mapping without losing the rest of the project.
3. Generate and finish the shot
Route the swap to a configured provider, generate the animated take, then bring it into the timeline with captions, transitions, and export settings.
- Generate the motion-swap take.
- Assemble alongside other scenes on the timeline.
- Export the finished, animated shot.