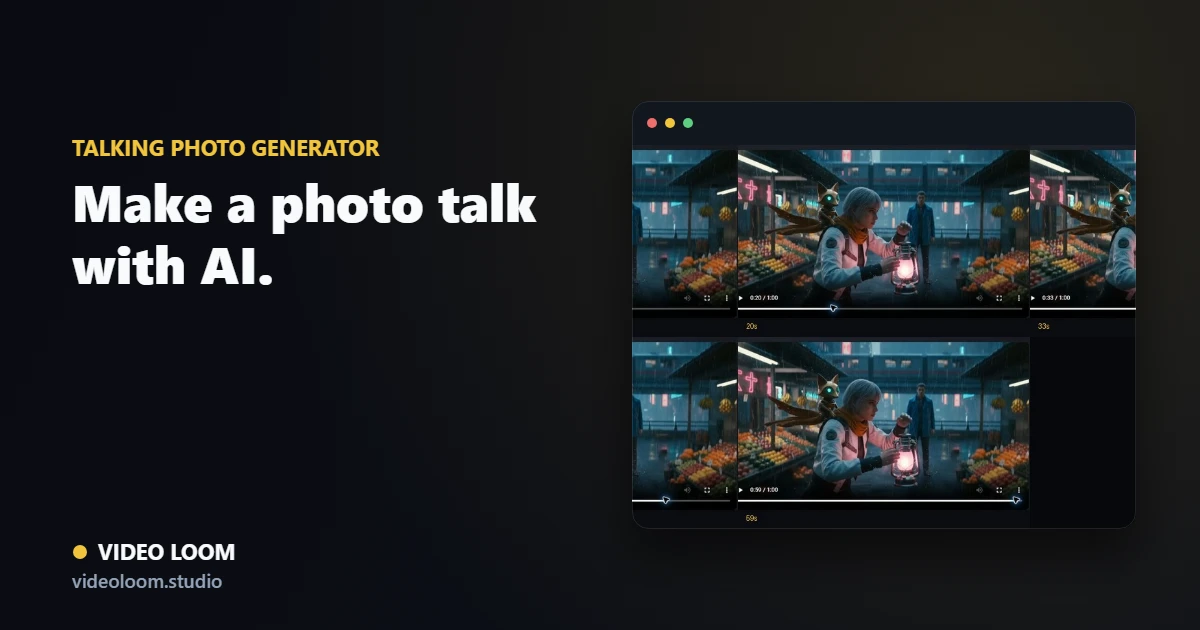
1. Choose one clear portrait
Pick a front-facing photo, character image, or presenter shot with a readable mouth and face, then set the framing for the channel you are delivering to.
- Use a portrait, character, or product-spokesperson image.
- Frame for 16:9, 1:1, or 9:16 before generating.
- Attach style and usage notes to the scene.
2. Add the line
Type a script or upload/record the audio the photo should speak, keeping speaker identity and caption cues attached for review.
- Typed script or uploaded/recorded audio as the driver.
- Speaker notes preserved with the scene.
- Caption cues seeded from the same line.
3. Review and export
Check mouth-sync accuracy and caption timing, then export the finished talking-photo cut alongside the rest of your project.
- Review sync before export.
- Timeline assembly with other scenes.
- Export for social, explainer, or presenter delivery.